CUSTOM COLORING SHEETS / KEEP THE OUTER MARKS
Trim the white space, not the drawing.
Remove an empty image border only after checking where the outermost marks actually end. Keep a little white space around them and inspect the saved file. This prepared example removes exact-white padding without scaling the drawing; it does not crop a subject to fit paper or recover details that were already missing.
Compare the image canvas
Loading the prepared image…
Direct files: Padded example PNG · Trimmed example PNG · Unchanged original artwork
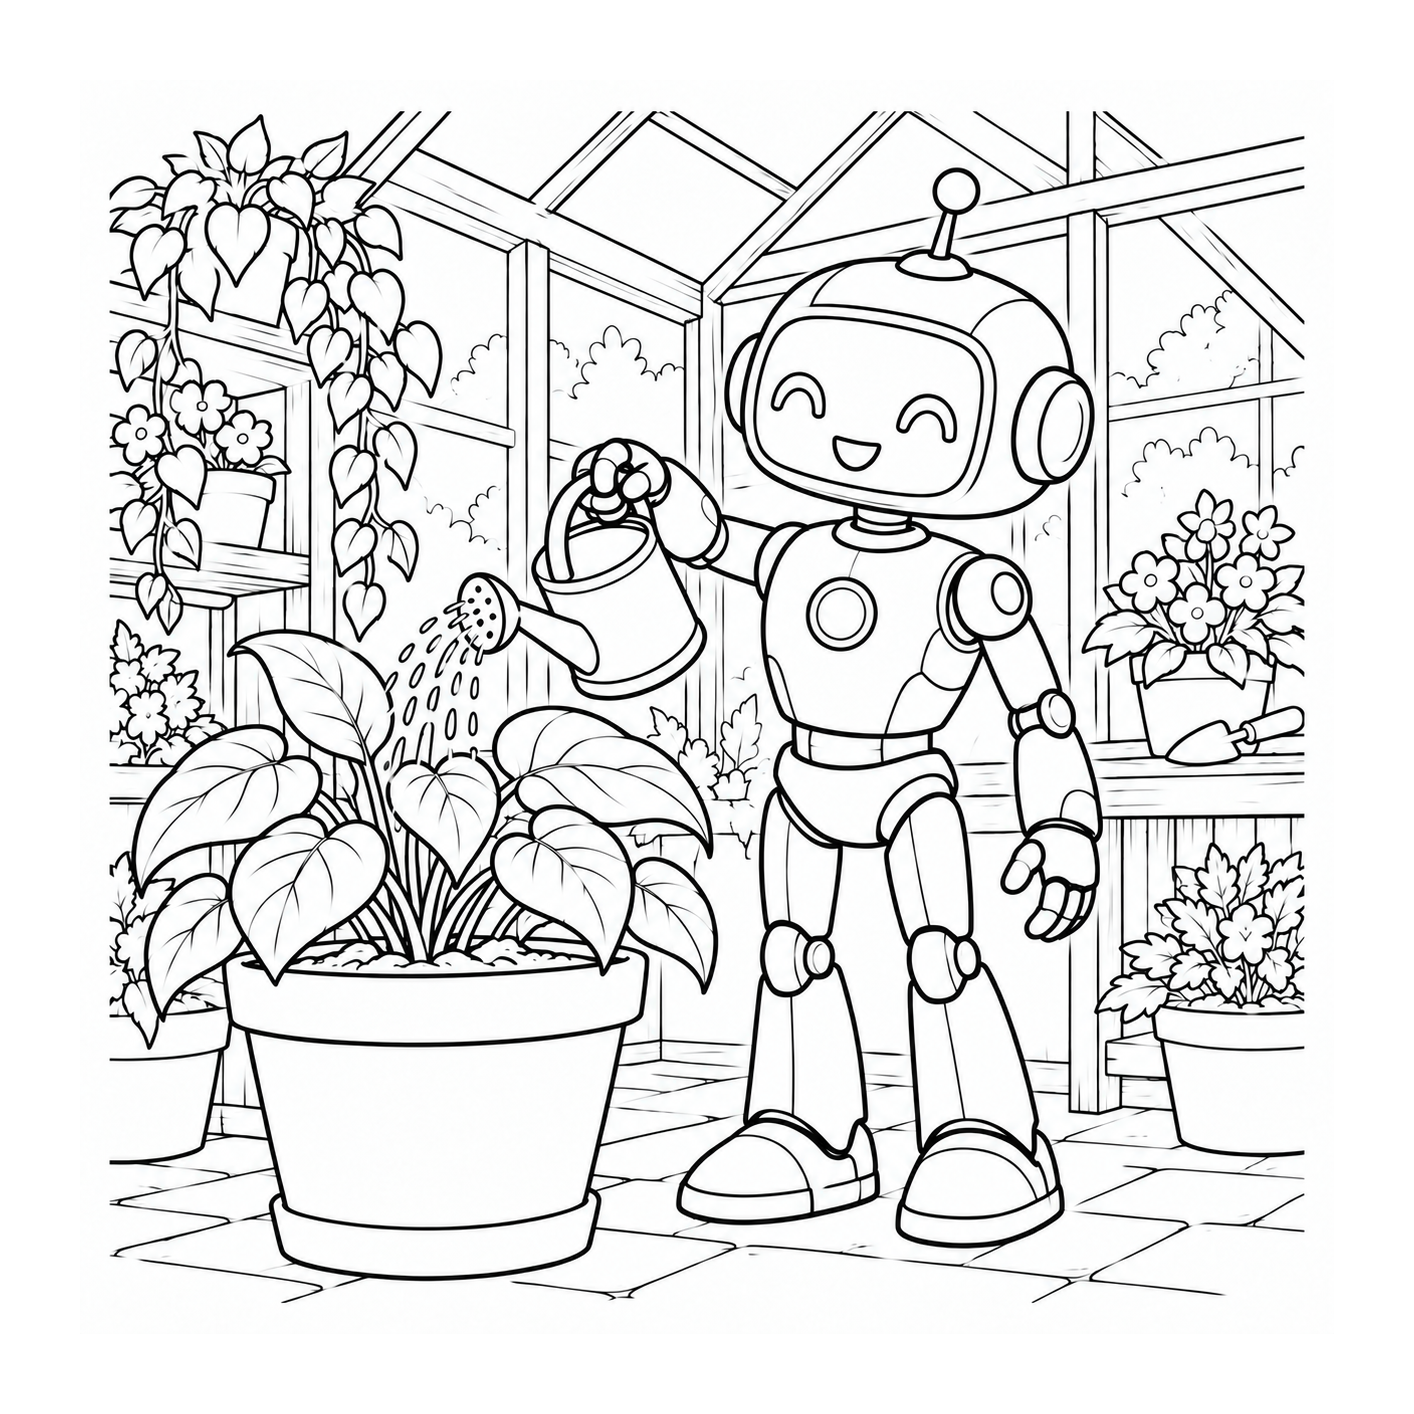
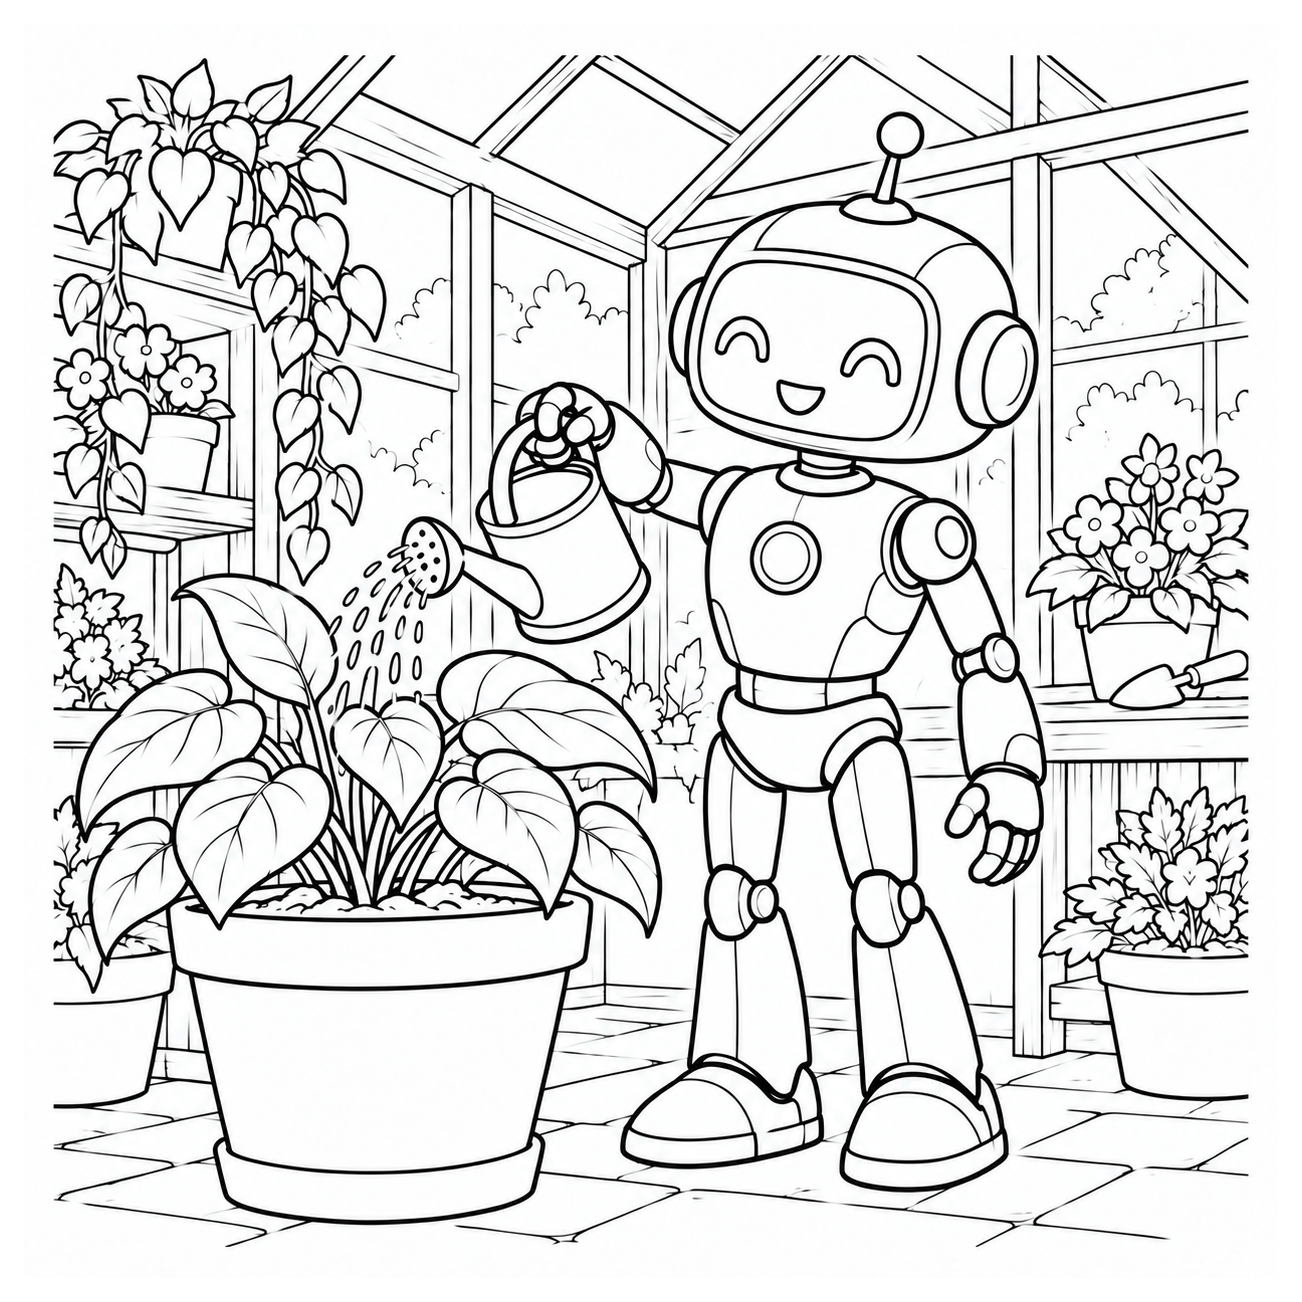
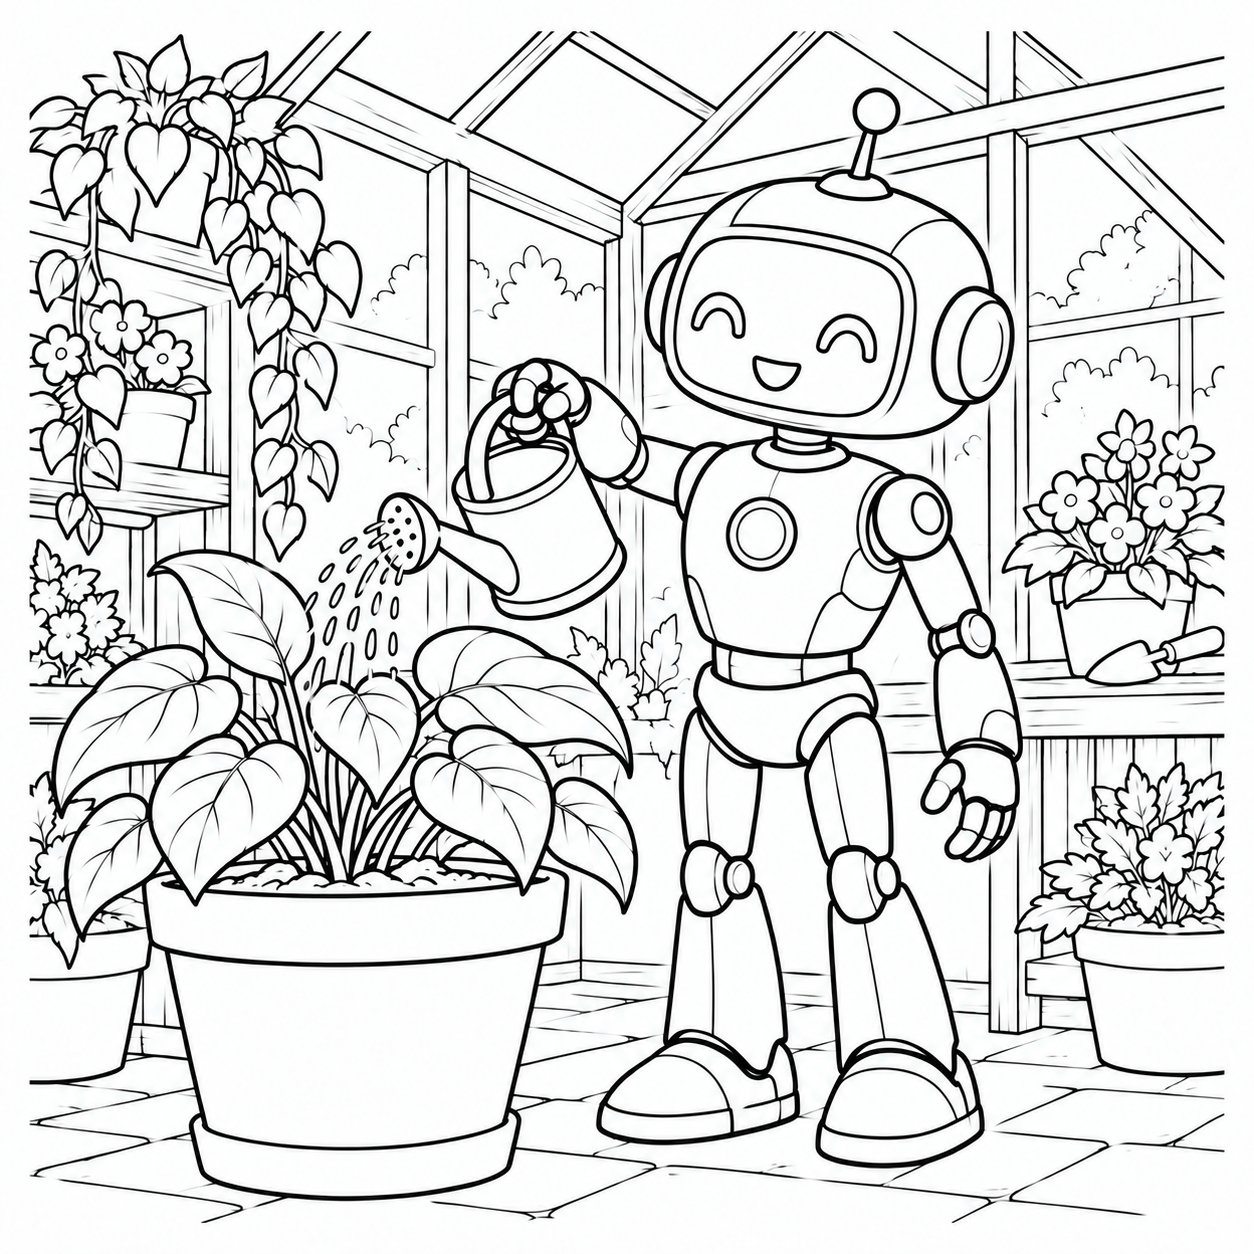
Compare the same illustration with two borders
We started with our existing reviewed greenhouse robot, then deliberately added an 80-pixel white band on all four sides. That makes a controlled padded example, not a new AI-generated picture or evidence that the original tool always adds this border. The browser finds the smallest rectangle containing every pixel that is not exactly white. Trimmed mode copies that rectangle unchanged and adds a new 24-pixel white band around it.
- Choose Prepared padded example and inspect the outside white band.
- Switch to Trimmed with 24px border. The canvas dimensions change; the copied drawing pixels do not.
- Download the selected PNG and reopen it. Compare the farthest leaf, robot foot and watering-can contours at the original pixel scale.
- Keep the source as well. Removing image padding is a separate decision from arranging that image on a portrait sheet.
This helper uses one public prepared example only. It does not accept uploads, remove scenery, erase gray marks or repair AI anatomy. The experiment is processed locally in the browser after its public image loads. Your own photo conversion remains in the separate photo to coloring page tool.
| Property | Padded example | Trimmed copy |
|---|---|---|
| Canvas pixels | 1414 × 1414 | 1302 × 1302 |
| Added white band | 80px each side | 24px each side |
| Non-white pixels retained | 1,461,223 | 1,461,223 |
| Drawing resampled | No | No |
The non-white count includes very pale background texture, not just black outlines. It is not ink coverage or a printing-cost estimate. In this exact-white test, the retained rectangle is the full original 1254 × 1254 image; only our deliberately added band is removed.
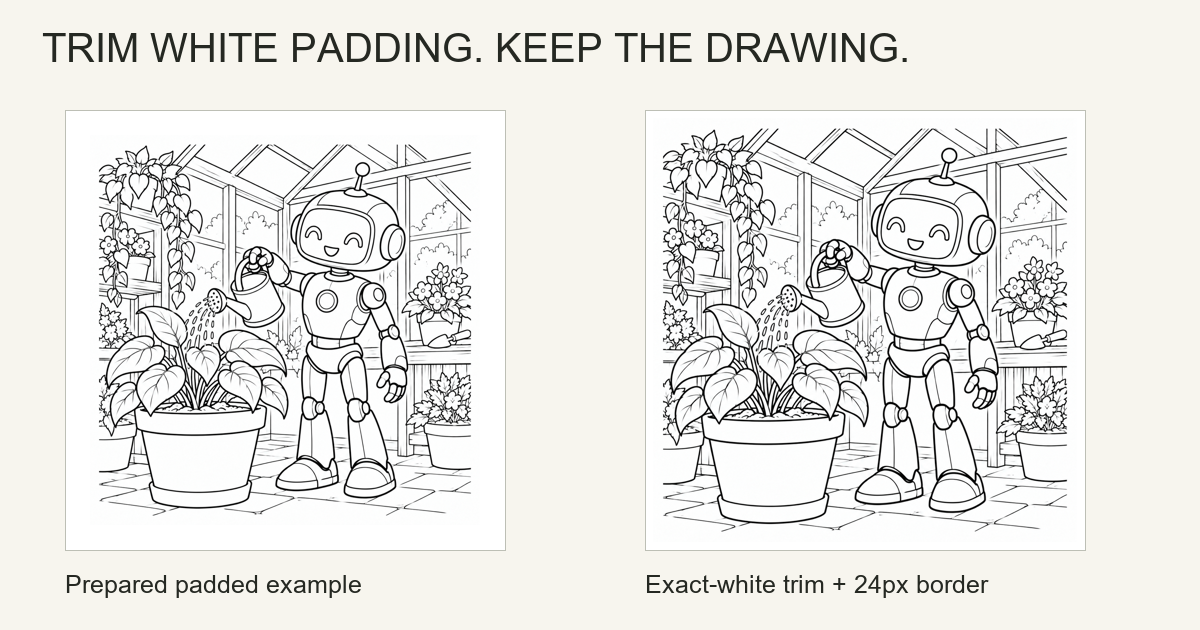
Why an exact-white rule is deliberately cautious
White means all three red, green and blue channels equal 255 in this opaque PNG. A pale gray speck still counts as a mark, whether it is an intentional soft edge or unwanted noise. This is conservative about keeping pixels, but it does not understand the illustration. A tiny stray mark far from the subject can stop an automatic trim from removing much space.
A looser threshold might ignore that speck, but it can also ignore a faint whisker or a light outline. Do not describe a threshold choice as universally safe. For this comparison we keep every non-white pixel and verify that the copied rectangle is unchanged. The number of retained non-white pixels remains equal before and after trimming. That is a check of this file, not a guarantee about arbitrary JPEGs, transparent PNGs or a different editor's trim command.
Our example has an opaque white background. A transparent border is a different case: an image editor may have separate trim options for transparency and color. Before trying those, inspect the saved file on a contrasting background. The background comparison explains that distinction. A white-looking preview alone does not tell you which background data the file contains.
Keep image padding separate from paper margins
Image padding is made of pixels inside the file. A paper margin belongs to a page layout and the printer's usable area. Removing the first does not set the second. A tightly trimmed picture can still need white space around it when placed on A4 or Letter paper. The 24 pixels retained here are a digital example border, not a measured millimeter clearance or a printer recommendation.
If a layout program fits every image to the same width, trimming its empty band can make the visible subject appear larger. The drawing did not gain detail: more of the assigned layout width is now occupied by the marks rather than the removed border. Compare the intended placed size and actual pixel dimensions instead of assuming that a smaller file canvas means a smaller printed subject.
Our fit-to-paper helper keeps the whole original square and centers it on a portrait canvas. It intentionally does not trim the original image. This page answers the separate question of changing the white border before placement. Use one decision at a time, then inspect the final page rather than applying a crop, enlargement and borderless print option together.
Check all four edges before making copies
Look around the entire subject at full size, not only the central face or object. Thin grass, a tail tip, a flag corner or a small accessory can define the true edge of a drawing. A subject already cut off in the source cannot be restored by trimming white pixels. Correct or replace that artwork instead of presenting a tighter crop as a repair.
Keep the original and trimmed copies named separately. After downloading, reopen the selected copy and confirm both its dimensions and the surrounding space. If you edit the drawing later, compute its bounds again; yesterday's crop rectangle may no longer contain today's added marks. Avoid repeatedly scaling the image just to compare the borders: use the original pixels for the crop, then handle page placement in a separate step.
The browser uses the documented source-rectangle form of Canvas drawImage. Here the copied source width and height match the destination width and height, so the crop step does not resample that rectangle. Independent reference files and actual browser downloads support this specific comparison. No competitor artwork was used.
For a paper activity, inspect fit and margins in the print dialog and try one proof before preparing a stack. We have not tested physical printing for this workflow. It does not establish paper compatibility, ink use, borderless output or commercial rights for images obtained elsewhere.
Questions about white image borders
Does trimming white padding make a new illustration?
No. The drawing is reused unchanged. This comparison changes the image canvas and its surrounding white band, not the composition or artwork count.
Will this remove a gray background or stray specks?
No. The example keeps every pixel that is not exactly white. A distant gray speck can therefore keep the detected bounds large.
Is the 24-pixel border a safe printing margin?
It is only a digital example border. Its physical size depends on placement, and it does not determine a printer's usable area.
Can trimming restore a cut-off foot or tail?
No. A crop cannot recover missing content. Inspect and correct or replace the original drawing when its subject is incomplete.
Does this helper upload my picture?
It has no upload field. It compares one public prepared robot example locally in your browser and exports the chosen canvas as PNG.